Packing Prints in a Tube

These guidelines for packing prints in a tube will help you to ensure that your prints are well packed and arrive at their destination in perfect condition. Please contact us (email details at the bottom of this page) if you would like us to send you detailed instructions.
1. Clean the inside of the tube with a dry cloth.
2. Cut four discs from corrugated cardboard, - one for each end of the tube, and two smaller discs that will fit inside the tube.
3. Cut two pieces of stiff paper or card at least 5cm larger than the the print(s) to be packaged on all four sides. "Sandwich" the print(s), each with its own interleaving tissue, between these two sheets of stiff paper or card.
4. Roll the prints with the printed side facing outward.
5. Tape this "inner" roll so that it is slightly smaller than the tube, and then wrap a sheet of bubble wrap around this roll.
6. Insert the rolled print(s) into the tube. They should fit snugly, - (i.e. not be rattling loosely, or jammed into the tube). Center the inner roll in the tube. The tube should be at least 5cm longer than the inner roll on both ends.
7. Place one smaller disc of card into the tube, fill the space available with crumpled bubble wrap, and tape a bigger disc to the end of the tube. (This creates a "shock absorber" that will protect the inner roll if the tube is dropped on its end).
8. Turn around and repeat to close the other end of the tube.
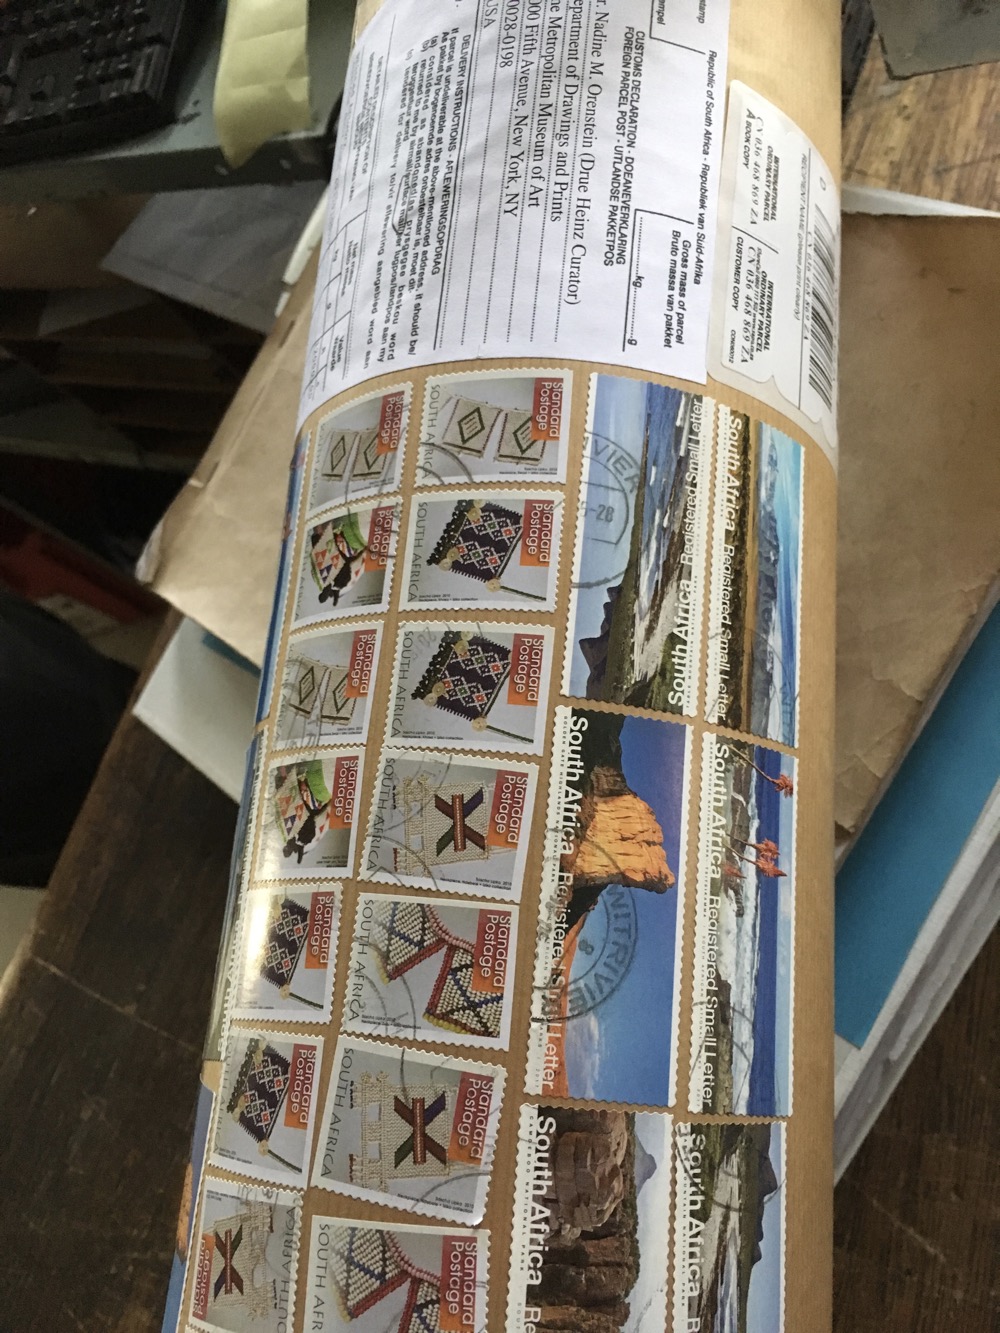
9. Wrap the entire tube with brown paper and packaging tape, mark "Fragile" and address. By packing in a tube following these tips your print should arrive safe and sound.


